DIY Epoxy Resin Quad Pours: Part 2
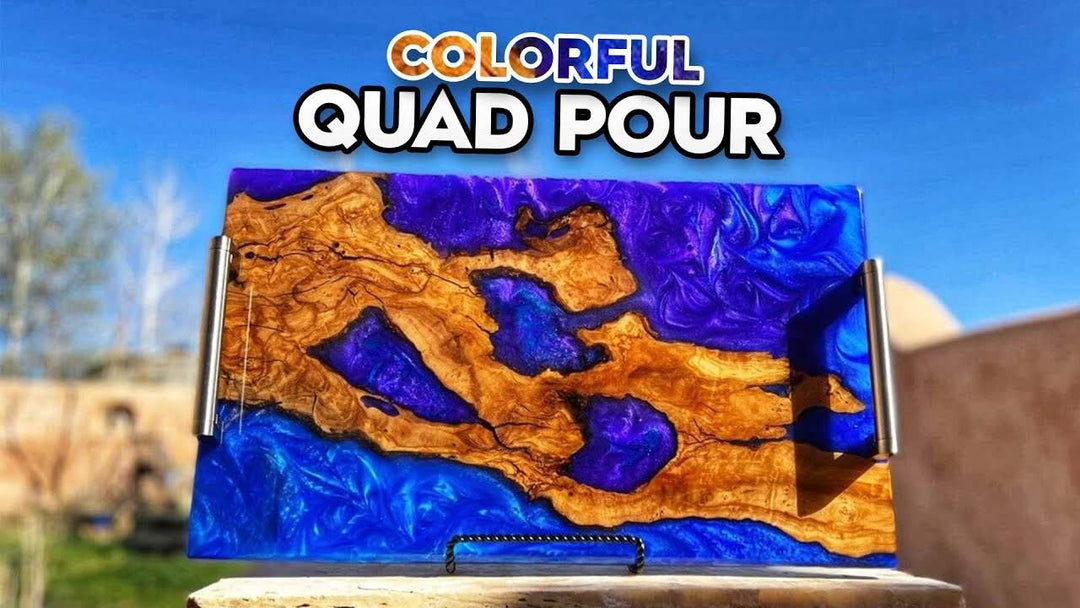
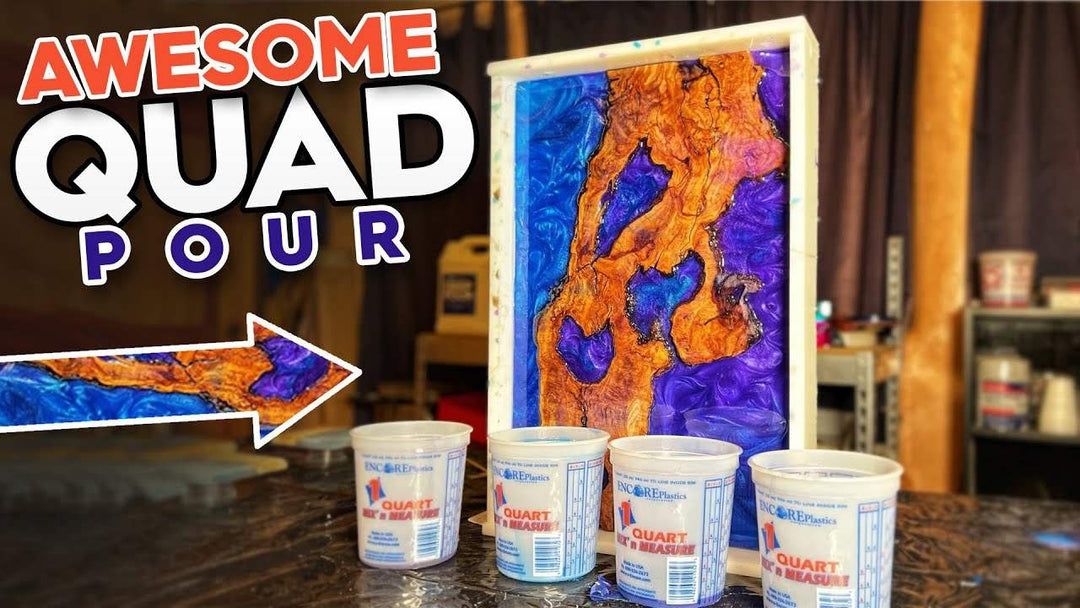
In today’s tutorial, we continue with the creation of this beautiful quad-color charcuterie board! Check out Part One in last week’s tutorial before reading this one.
Skill Level: Beginner/Intermediate/Expert
Estimated Working Time: 72 Hours
What You’ll Need:
- Upstart Epoxy Table Top Resin
- Sander
- Tyvek Tape
- Small Heater
- Heat Gun
- Cabinet Handle Jig
- Rubber or Sanma Felt Feet
- Walrus Oil
Trimming And Sanding
When we finished last week, we were allowing the project to cure, added swirls and designs with our mixing sticks around the 14-18 hour mark, and let the project finish curing for three days. After the epoxy has cured, we take it outside to trim the edges, plane the board on both sides, sand both sides from 120-320 grit, and finally bevel the edges to create a more refined look.

Prepare For A Flood Coat
Now we’re ready to add a flood coat to one side of the board for a glossy finish, leaving the other side with a matte finish. We put some Tyvek tape on the edges of the board, which will catch the bubbles from the epoxy we’ll use in the flood coat. We don't want to have to use our sander again due to the excess bubbles and drips from the tabletop epoxy. We allowed our table top epoxy to heat up in its container in front of a small heater for about 25 minutes.

Conduct The Flood Coat
Once our refining process was complete, we took the board back inside and mixed our table top epoxy by hand for 1-2 minutes. As you mix, you’ll notice how quickly the cloudiness in the epoxy disappears- that’s because you allowed it to warm before manipulating it. We then poured the epoxy on top of the board, making sure to evenly distribute it on the edges and the entirety of the surface. We used our spreader to further evenly distribute, and then quickly hit it with a heat gun to remove bubbles. We’ll return to this project tomorrow!

Polish Up The Board
The project has cured now, so we're going to go ahead and rip off the pieces of tape carefully. There’s still a bit of residue and excess epoxy on the underside, but that can be sanded off with some high grit sandpaper. Run it along the edge to get anything undesirable off. Now, it's time to put these handles on the board.
We grabbed a cabinet handle jig and measured our board. It measured at 12 inches, so now it was time to find the center point at six inches and tighten the jig there, then line up our handles. We then used the drill holes and drilled the handles into our project, making sure everything is nice and tight. Always double check your work to prevent costly mistakes!

Finish It Off
We decided to add feet to the bottom to keep the board nice and steady- feel free to use rubber feet or sanma felt feet. We add the feet on before the oil, as it’s way harder to get them to stick if there’s oil all over the project. Now we’re adding a little walrus oil to add some more shine, and then we’ll let that soak into the wood for about 4-5 hours. When you come back, wipe off any excess. Now it’s time to enjoy your beautiful board!


