Basic Tools For Incredible DIY Epoxy Resin Project Outcomes
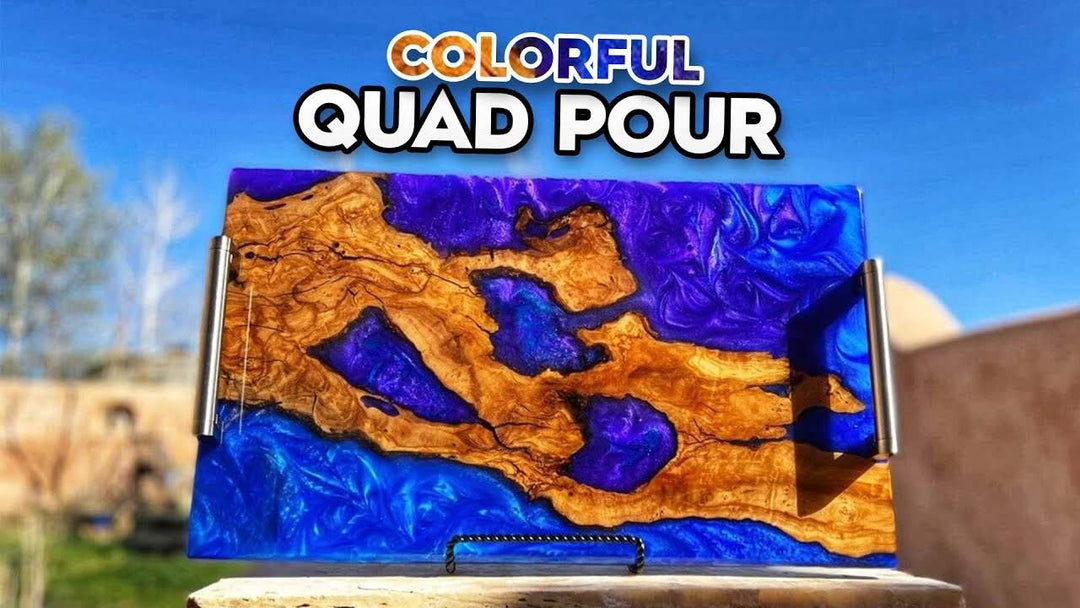
Ready to get started on your very first epoxy project? Let us walk you through the basics! Here’s a comprehensive list of the epoxy resin tools you’ll need to make your projects a masterpiece from the beginning.
Skill Level: Beginner/Intermediate/Expert
Estimated Working Time: N/A
What You’ll Need:
- Upstart Epoxy Deep Pour Resin
- Upstart Epoxy Table Top Resin
- Upstart Epoxy Powdered Pigments Set
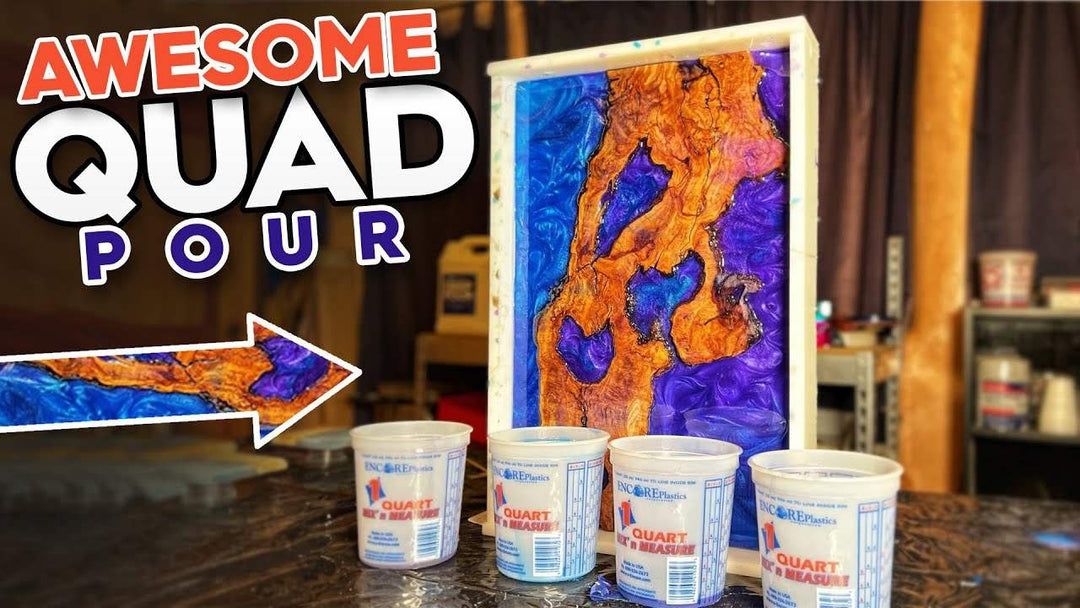
- Mixing Cups
- Mixing Sticks
- Drill
- Mold
- Orbital Sander
- Heat Gun/Blow Torch
Resin Art Supplies and Tools
Probably the most essential of all resin art supplies is deep pour epoxy, which is perfect for pouring up to two inches, cures slower allowing you a lot of working time, and has a high viscosity. It’s the perfect epoxy for a beginner.
Next on the list of epoxy resin tools are good mixing cups , which are imperative for accurate pouring measurements. The best kind to get are ones that come labeled with ounces and liters. There are even some that have a 2:1 ratio requirement, just like deep pour has! These ensure that your epoxy ratios are spot on.
Now let’s talk about what to use to mix your epoxy. If you’re using table top epoxy, we suggest mixing sticks because they produce less bubbles and help you mix more thoroughly. We prefer wooden skewers, as they’re great for adding details and swirls to your epoxy later.
When using deep pour epoxy, try using a drill instead! It’s perfect for deep pour’s 2:1 ratio, because the formula settles over time and naturally rids itself of bubbles. This is great because you're likely going to put powdered pigment in the mixture.

Resin Supplies for Colors and Pouring
Speaking of powdered pigments, don't forget the color folks! Upstart has an awesome set of various mica powdered pigments, that are perfect for any project you want to add some color and depth to.
You'll need something to pour your epoxy into, right? Of course, so you’re going to need a mold you can trust. This is one of the most important epoxy resin tools if you want a quality finished project, so find one with good reviews and that doesn’t stick. This way you don't have to worry about leaks or drips while your project cures. If it’s a good mold, expect quality results every time! We love to make our own forms here at Upstart, but start off buying yours until you feel comfortable enough to make your own form.

Epoxy Resin Finishing Tools
It’s time to get your hands on one of the most essential epoxy tools- a good orbital sander. This is imperative if you want to get off any high points or any pieces of the project that weren't covered with epoxy. It's also great for taking off any excess epoxy, such as drips on the underside. We like to space out my grits, starting off with 60-grit and working our way up to 220-grit. This gives you a clean, smooth surface that's ready for a flood coat. We highly recommend using a sander folks, whether it's a large project or small project!

Supplies for Table Top Epoxy Resin Art
Now, let's talk about table top epoxy. Table top is perfect for applying flood and seal coats, which are necessary for finishing your projects off and making it pop. They also can help you rid the project of any imperfections once it’s cured. The best thing about it is that it preserves your piece- you won't have to worry about scratches or duress. Whatever you use it for, just know you’re going to get a beautiful finish whenever you use table top epoxy!
Last but not least, future epoxy expert, you’ll need a heat gun or torch for your projects. These are perfect for popping surface bubbles. These bubbles are inevitable folks, as the epoxy naturally creates them. Use your heat gun or torch lightly over your piece to rid it of the excess bubbles.
Was this mini tutorial on resin art supplies informative? If you need more, check out The Ultimate Epoxy Resin Course on our website! It’s a 100% digital class designed to teach you how to create incredible epoxy resin projects at your own pace. We can't wait to see your creations- don’t forget to tag us in them!


