Achieve A JAW DROPPING Epoxy Resin Bath Board l DIY Woodworking Pro Tips
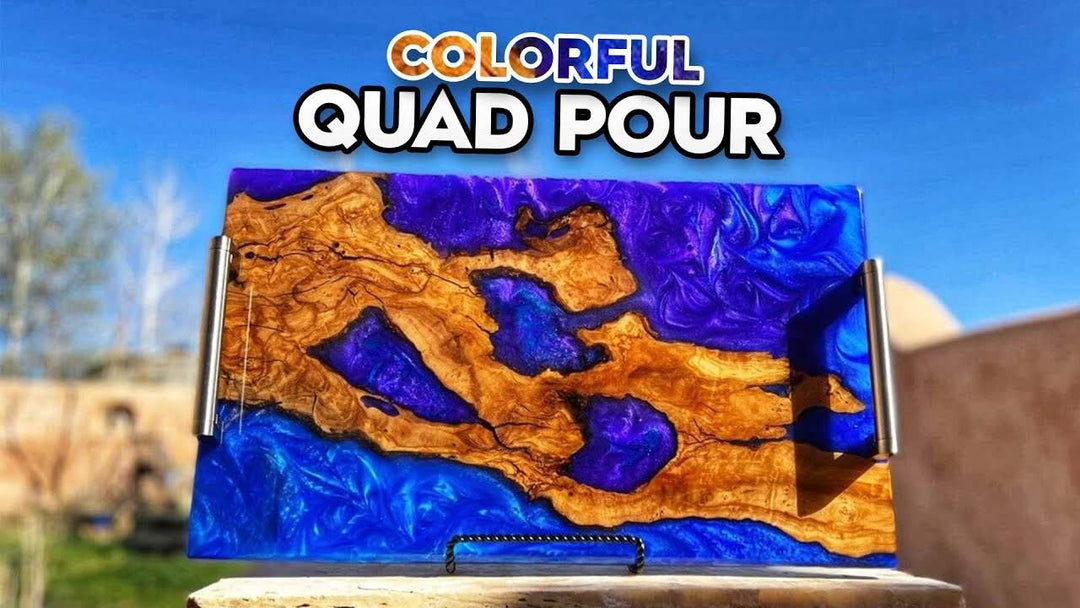
Our deep pour epoxy resin is the star of this stunning tricolor bath tray tutorial. Steve with Upstart Epoxy shows you how we constructed this from start to finish in just a few days!
Skill Level: Beginner/Intermediate/Expert
Estimated Working Time: 4-5 Days
What You’ll Need:
- Upstart Epoxy Table Top Resin
- Upstart Epoxy Deep Pour Resin
- Upstart Epoxy Powdered Pigments Set
- Wood Slab
- Plywood
- Tyvek Tape
- Silicone
- Hot Glue (Optional)
- Heat Gun
- Putty Knife
- Pry Tool
- Table Saw
- Belt Sander
- Planer
- Router
- Wood Oil
- Drill
Choose a wood slab and create a form.
To kick this project off, start by choosing your wood slab and creating a form that fits your desired length and width You can do this by constructing the form with plywood and Tyvek tape. This particular tray was for an oversized bathtub, so we intended to make our form a bit longer than a normal bath tray- measuring at 42 by 12 inches.

Prepare the slabs for a pour.
DIY Tip: Don’t forget to screw the wood slabs together and seal the entire form on both sides with silicone! This step prevents leaks. Once the form is completed and you’ve placed the wood inside, we recommend using hot glue to hold the slabs down by gluing it to the underside of the wood. If you don’t have hot glue, you can also weigh the slabs down with a heavyweight once your epoxy is poured.

Carefully mix your epoxy.
Now it’s time to mix your epoxy! We went with Upstart’s deep pour for this project, making sure we worked carefully until all parts were mixed together seamlessly. We recommend mixing for 2-3 minutes to minimize the amount of bubbles that will appear post-pour. DIY Tip: Mixing by hand usually takes longer, but you can get even better results if you do!

Mix your powdered pigments, then pour the colored epoxy.
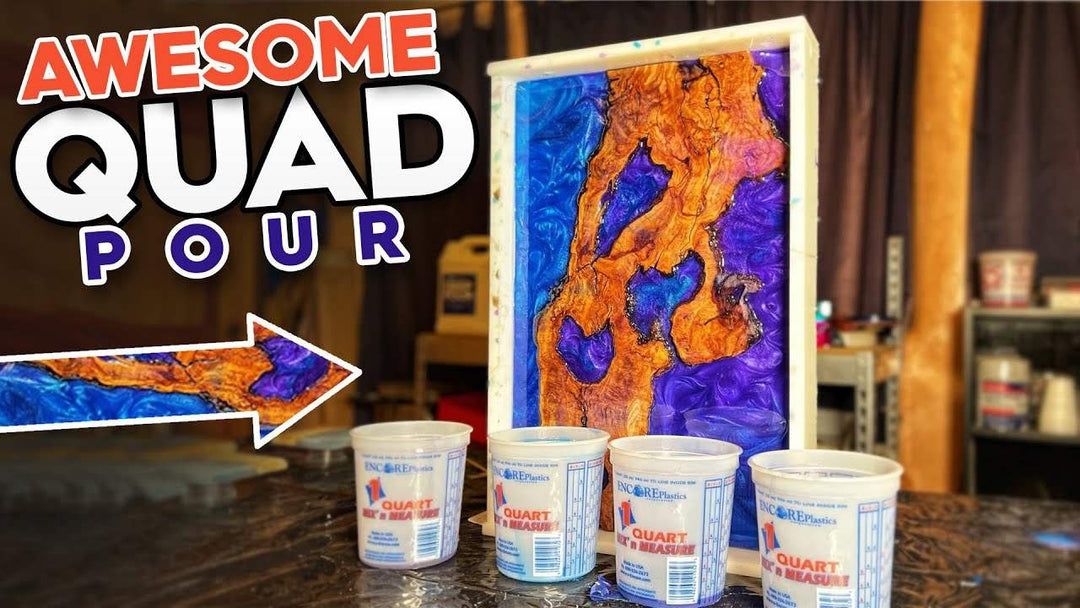
We’re ready to add some color to that epoxy. This is a tricolor bath tray, so we chose the following three colors from the powdered pigment set- Deep Blue (BL3), Dark Green (GR3), and Purple (Y4705). We mixed all three colors with deep pour separately in their own buckets.
Now, it was time for that pour- add all three colors to your form at the same time. Look at how cool this waterfall pour is! The colors just blend together perfectly. The viscosity and flow of the deep pour epoxy resin is truly unmatched.

Remove bubbles and add swirls to the epoxy.
After you pour, use a heat gun to remove all of the bubbles you can. Next, we used the included mixing stick to mix and swirl the colored epoxy. This step just makes the colors blend more and helps them come together as one in the piece, which really adds to the beauty of the project. Let this cure for three days, periodically checking for and removing bubbles.

Let the board cure, then free it from its mold.
After three days, we were ready to break this project free from the mold! We screwed the slabs together when we were prepping the piece, so we hammered it out and removed the screws. Then, we grabbed a putty knife to release the piece. The putty knife is durable and great for releasing your projects. We then follow that up with a long pry tool, which separates the epoxy from the tape and mold.

Use a table saw to cut the edges.
You’re now ready for the first part of the polishing process! The first step is to cut any edges where there is excess epoxy with a table saw. Next, we recommend using a belt sander to remove any high points on the piece. This step ensures that your project is level, able to go through a planer, prepares the surface for a flood coat.

Run your piece through the planer.
Once you have sanded down the high points and cut the edges, your piece is ready for the planer. Run it through until you’re satisfied with the finish, which should be smooth on both sides. This step is very important because not only will the board be nice and flat, the piece will have zero wobble, making it functional and ready for use!

Use a sander to finish it off.
The next step in the polishing process is to hit the board with a sander. After planing it, you can sand it to any grit you prefer. For this project, we started with 60-grit sandpaper and went all the way up to 320-grit. The more you sand, the more the board will pop once you pour that flood coat! Finally, we used a router to add a beveled edge to our piece, which just makes the finished look more sophisticated.

Pour a flood coat.
Now, on to a more exciting step- conducting the flood coat! We grabbed some of Upstart’s table top, mixing carefully and making sure there was no dust or debris inside. Once you start to pour, make sure you get a good overflow of epoxy all over the board- that way, everything is consistent and will dry at the same time. Watch how those colors pop! Flood coats allow you to see the true beauty of your creation.

Allow the board to cure, then sand it.
We allowed this to cure for 24 hours, and then returned to the sander to remove all the excess drips with 40-grit sandpaper. Next, we gave the piece a nice coat of wood oil on its underside, which preserves the wood. Since this will be used as a bath tray, there’s a possibility it could get wet, which could ruin the wood. Adding the wood oil before use will protect it from this.

Add handles to the piece.
Now it’s time to place those handles on your board. We measured everything up and marked our points, then drilled in the pilot holes and got the hardware all mounted up, and now we’re all done. Sit back and enjoy what you have created- a beautiful functional bath tray that POPS!


