How to Fix Epoxy Mistakes: Easy DIY Techniques, Step By Step!
Many of our tutorials show you how to create beautiful projects from scratch, but what about fixing existing projects? Let us show you how we repaired and reconstructed this broken piece using Upstart Epoxy. We managed to take this project from broken to beautiful. Here’s how we did it!
Skill Level: Intermediate/Expert
Estimated Working Time: 48 Hours
What You’ll Need:
- Upstart Epoxy Deep Pour Resin
- Upstart Epoxy Table Top Resin
- Upstart Epoxy Powdered Pigments Set
- HDPE Mold (20x12 Or Larger)
- Tyvek Tape
- Putty Knife
- Mold Tool
- Finishing Oil
- Rubber Feet
- Chrome Handles/Legs
- Drill
- Sander
PROJECT PREPARATION: Our goal was to make a charcuterie board that could double as a serving tray with colors that POP. When we thought about which epoxy would go best with this project, we went with the resin that never lets us down-Deep Pour Resin.
Choose your mica powder colors.
Next, it was time to pick out two colors from the Powdered Pigments Set. We went with Dark Green (GR3) and the Standard Black (BK2), figuring these two colors would compliment each other just the way we wanted.

Pour two layers of deep pour epoxy resin.
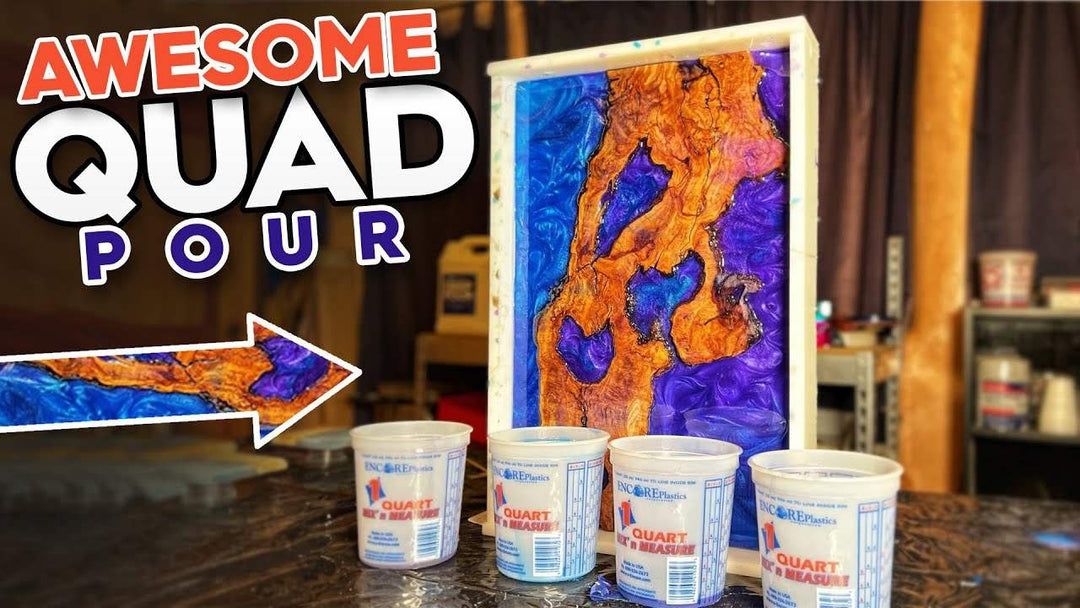
We grabbed our standard sized HDPE mold (about 20x12) and started to pour! The pour itself was gorgeous- we swirled the colored epoxy to perfection, and were ecstatic with how well the chosen colors meshed. We went ahead and let it cure for about 4-6 hours.
Now let’s pour our second layer- this will be a clear coat of Deep Pour. The reason we do this clear pour is that it really brings out the beauty and depth of your wood, and helps your mica powder colors pop. Let that layer cure for another 4-6 hours.

Demold your board with a putty knife and mold tool.
DIY Tip: When we demold a project, we like to start the process off with a putty knife to make it easier. You can do this by lining it up in between the mold and a piece of wood to ensure there's no cracking or chipping on the epoxy, and then slamming the knife between the two. It usually pops off right away!
After that, we use a mold tool and stick that in there slamming all the way down to the bottom. You should hear a satisfying crack, which lets you know the epoxy has separated from the mold. Pop it out and take a look at it, making sure that there’s no damage and no dips on the top, underside, or bottom.

RESTORING THE BROKEN PROJECT: Everything was going great! We were doing our usual epoxy routine- sanding the charcuterie board starting at 80-grit and going up to 220 and hitting the project with a flood coat. We were loving how it was turning out, and then the heartbreak happened.
While bringing the project indoors, we accidentally dropped it on a hard surface, cracking it in half. As horrible as it was, we decided there was no turning back now. We were determined to get this project back on track and make it even better than before.

REPAIRING THE BOARD: We gathered all of the broken pieces and decided to get back to work. We’re no quitters!
Switch over to a larger mold to prevent another accident.
We gathered all of the broken pieces into a larger mold than the original. We mixed up more of our deep pour and the original mica powder colors we used, then began to pour our second pour. Just as they did the first time, the colors meshed beautifully! As we did earlier, we let it cure for 4-6 hours.

Conduct another clear pour.
After the curing was done, we used Tyvek tape on the sides of the mold- check out the video to see the resin technique! We did this to keep all of the clear Deep Pour epoxy resin from our next pour inside of the mold. Now, it's time to pour that next coat- a clear coat of Deep Pour. This project is already starting to look up!

PROJECT CLEANUPS: From this point on, it was business as usual. Now it's time for us to clean our project up for a professional, finished look, and pour a flood coat. A flood coat adds gloss and shine to your board.
Make sure there's no debris in the surface and bevel the edges.
We planed the board a few times until we were satisfied, then used our sander to give the project a clean look. Next, we prepared the project for a flood coat by beveling the edges. We made sure that no debris, leftover epoxy from our previous pour, or anything that could ruin the piece was still inside of the mold.

Pour a flood coat.
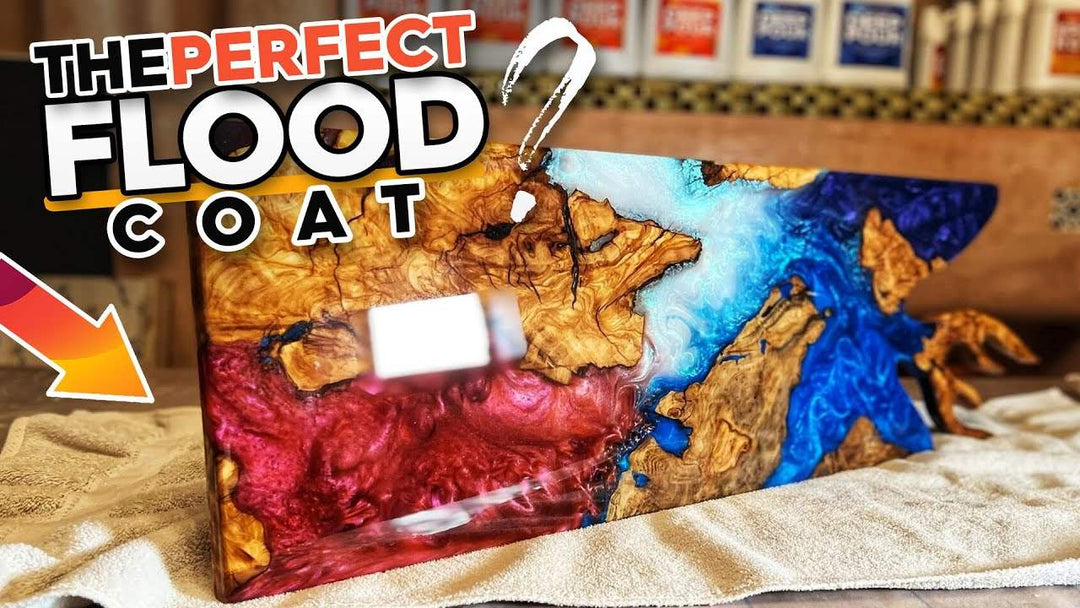
Just like we did in our Epoxy Resin Coffee Table Tutorial, we poured a clear flood coat of Table Top Resin onto the project. After the flood coat, we were certain that it was going to look like a complete piece again! There’s ups and downs with epoxy, but you have to be resilient.

THE FINISHING TOUCHES: Your project is probably looking bigger and better, but don't forget the final steps!
Sand and oil the project for a clean finish.
We sanded off any bubbles with 40-grit sandpaper and took our work outside. We used Walrus finishing oil on the underside to preserve the wood. Next, we took our work back outdoors to finish it off right.

Add bars or handles if needed.
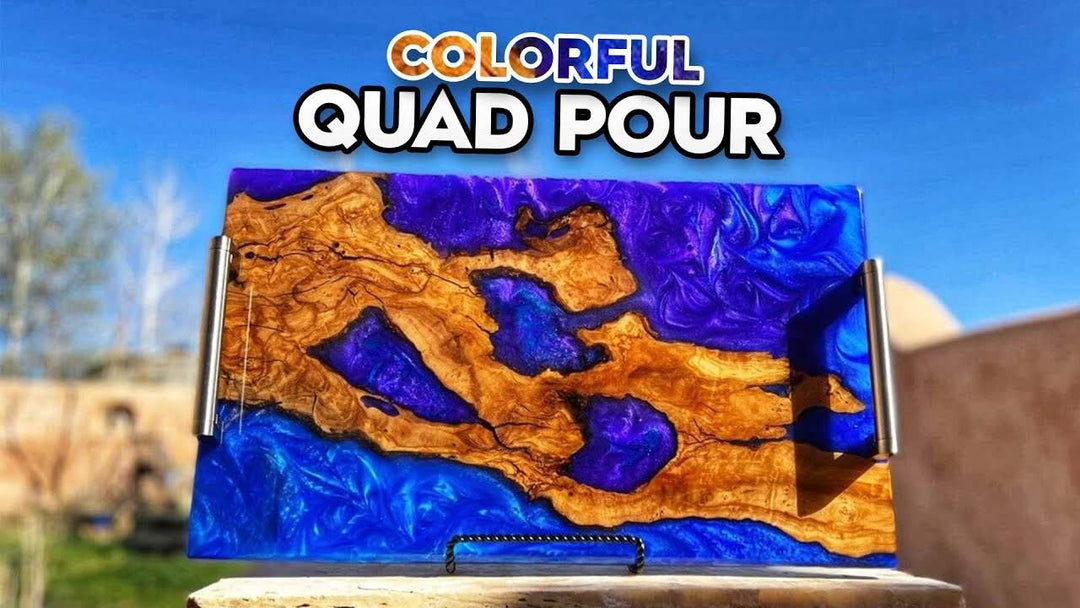
At this point, we decided that the project should be a bath board instead of a charcuterie board. Once we came up with this, we screwed some rubber feet into the corners of our board to give it more stability. Next, we mounted a few chrome handles to make the board easy to carry around.
DIY Tip: When prepping your projects to add bars, grab a marker and mark where the screws should go in. We drilled them in with a small drill gun, and then added a bigger drill bit so the screws, mounted from the underside, will fit snugly.

Now, you’re ready to enjoy your piece!
We loved the initial project outcome, but we’re even happier with the final, restored product. Epoxy resin can be a little intimidating, but don't let mistakes or breaks stop you from creating projects that can STILL last a lifetime. There’s so much opportunity to make a bigger, better piece, especially when you use Upstart Epoxy.


