Multi-Color Epoxy Resin Pours l Mini DIY Tutorial
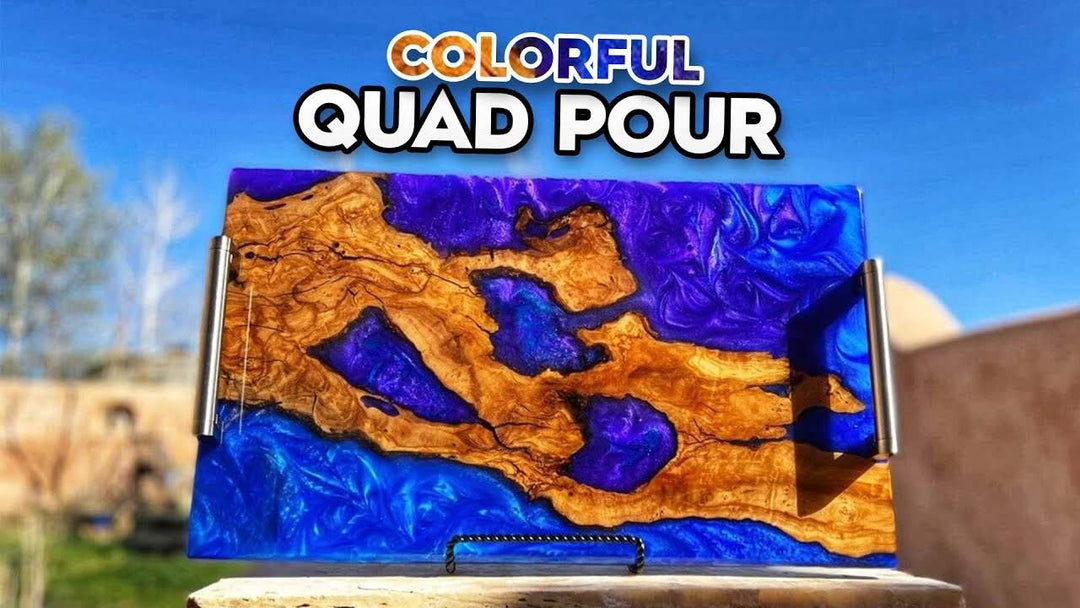
Have you ever tried to pour multiple powdered pigment shades into your epoxy at the same time? You might need an extra hand (or two) for this, but the end result is well worth it!
Skill Level: Beginner/Intermediate/Expert
Estimated Working Time: 24-48 Hours
What You’ll Need:
- Upstart Epoxy Deep Pour Resin (Optional)
- Upstart Epoxy Table Top Resin (Optional)
- Upstart Epoxy Powdered Pigments Set
- Mixing Containers
- Mechanical Mixer
- Heat Gun
Add Color To Blended Epoxy
To get things started, blend your epoxy to perfection (we recommend at least ten minutes) and then grab the powdered pigments of your choice. After mixing your epoxy thoroughly, gradually add in a bit of each powdered pigment shade into separate mixing containers. Add in your epoxy, and use a mechanical mixer to blend the two seamlessly. This ensures that all parts plus the colors, will mix well together for high-quality results.
Conduct Colored Pours
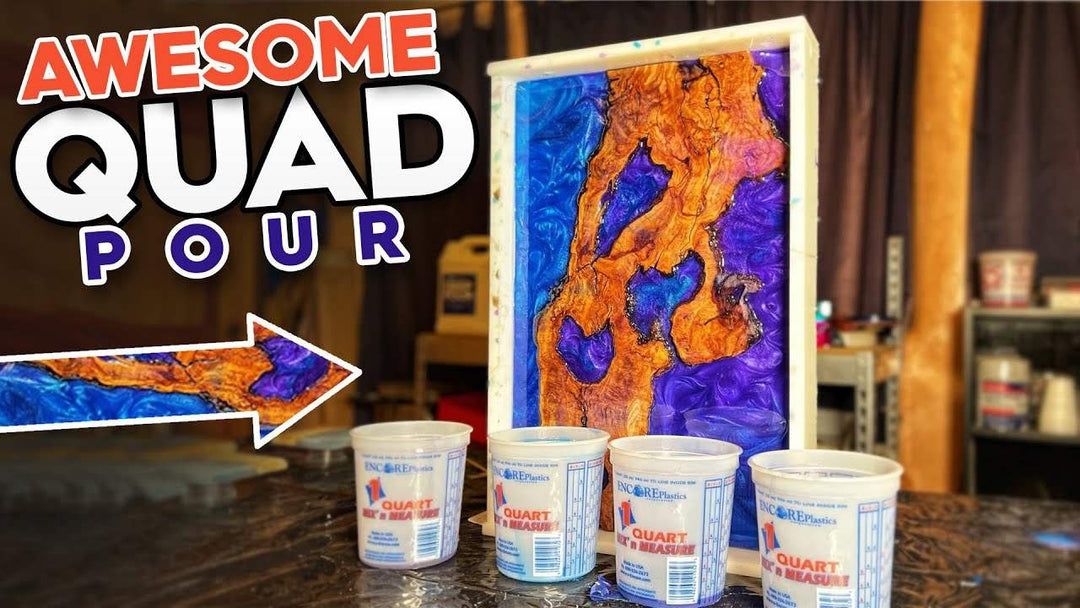
Remember, each powdered pigment color and its epoxy should have its own container. Pour the colors from opposite corners of your mold or project, allowing them to meet in the middle. Check out that color payoff and thank us later!
We tried this technique with a tricolor pour, meaning we used three colors from our powdered pigment set. We poured them into our form at the same time, which created a very cool waterfall effect. The vibrancy of the colors and the viscosity the epoxy resin was perfect.
Add Swirl Designs
After removing bubbles with a heat gun, we used the mixing stick that came along with our kit to swirl the colored epoxy. This step just makes the colors blend and come together as one in the piece.


